For users who prefer a graphical interface to hie-storage, Filezilla is a commonly used tool. Once installed, users can access and interact with hie-storage using a windows-like environment as opposed to the command-line interface. Instructions for how to install Filezilla and set it up to access hie-storage are outlined below.
Create SSH key pair
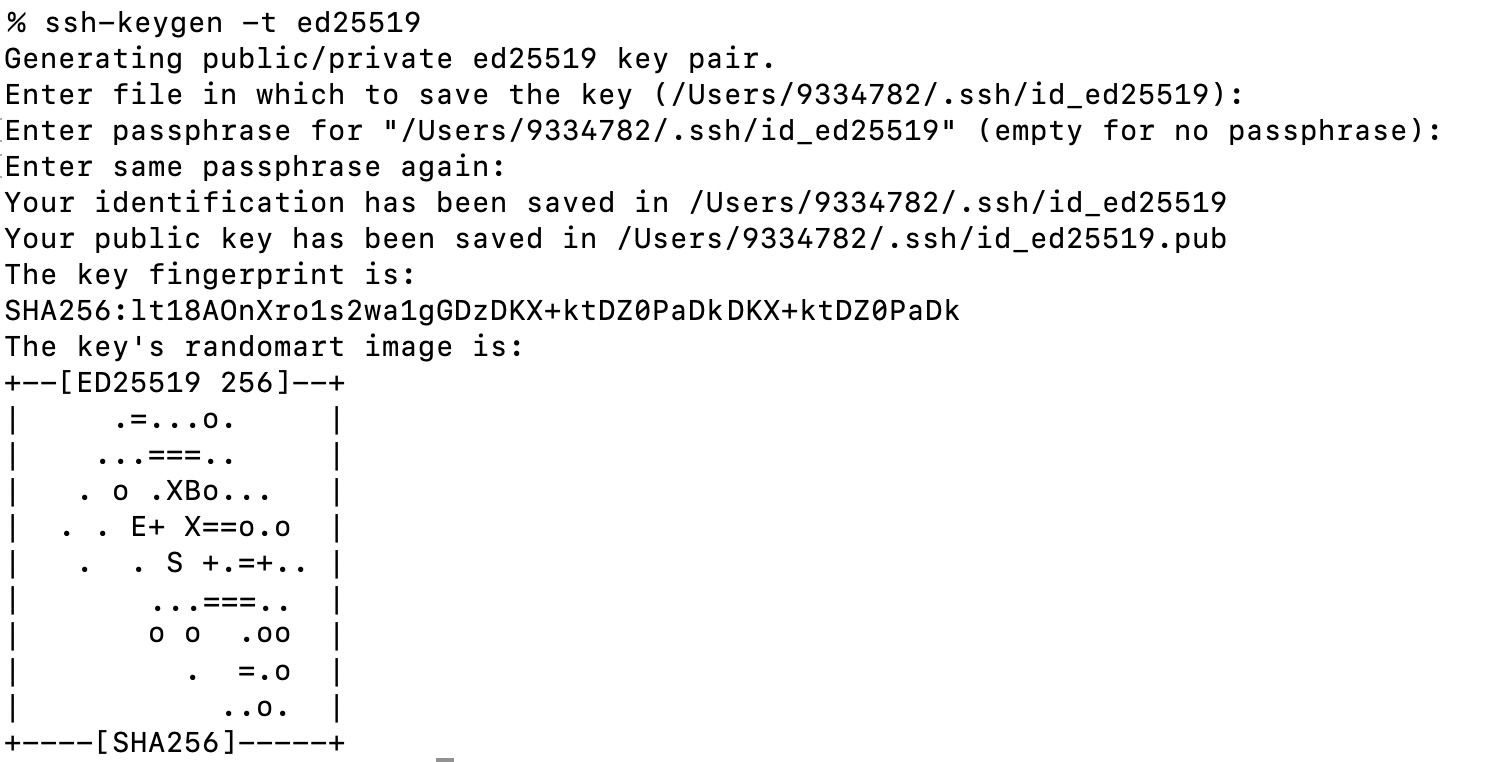
From a Command Prompt (Windows) or Terminal App (macOS) type the following command
ssh-keygen -t ed25519
Hit Enter 3 times to accept the default location and use an empty passphrase. See screenshot below.
Note the location where the “id_ed25519.pub” and “id_ed25519” files are created on your device
Share the contents of “id_ed25519.pub” file via email with the HIE systems administrator
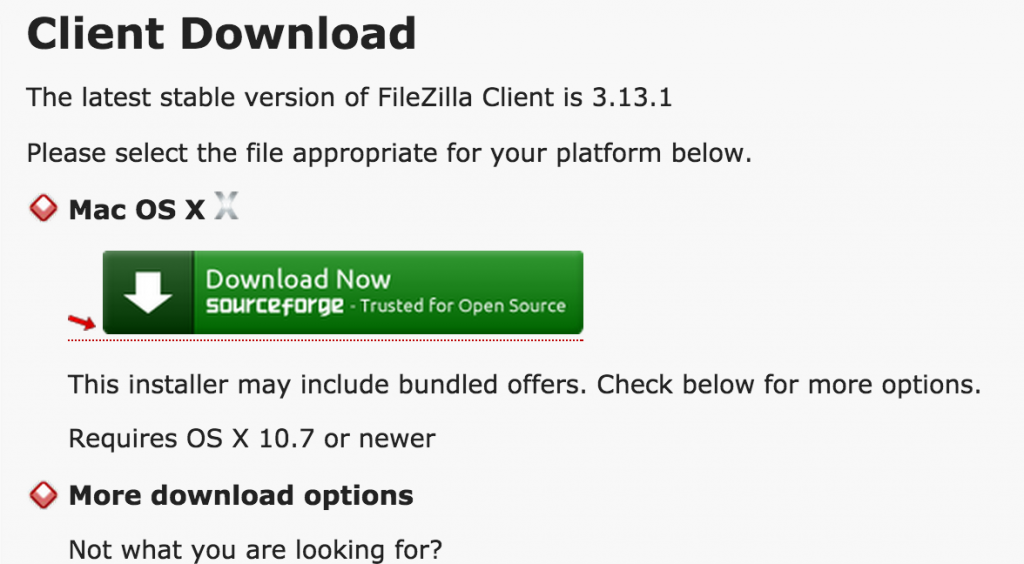
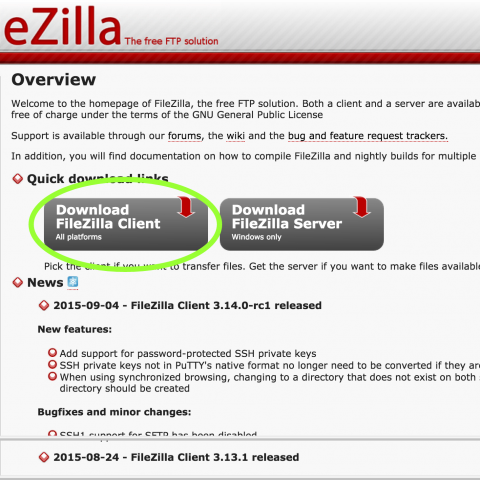
On the following page, click the green ‘Download Now’ button which will the client for your particular computer
Once the FileZilla installer has been downloaded to your machine, open it to begin the FileZilla installation
Step through the installation screens to install the most recent version of FileZilla
**Note – Remember to deselect installation of any additional software that you do not require
Setup
Open FileZilla
An overview of the different panels you can expect to find on FileZilla are shown below
Local file explorer (folder structure above, files below)
Remote file explorer
Status of any current connections/commands
List of (i)files in queue awaiting transfer, (ii) any failed tranfers, (iii) successfully completed transfers
To add and save a remote connection (e.g. to HIE-Storage), begin by selecting ‘Site Manager’ from the ‘File’ option on the top menu.
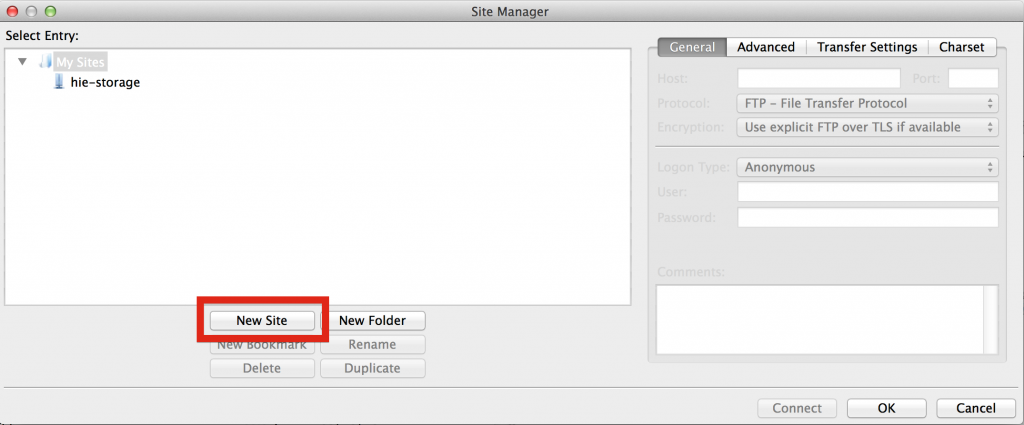
The ‘Site Manager’ panel should now open up.
Click the ‘New Site’ button and name the new site ‘hie-storage’
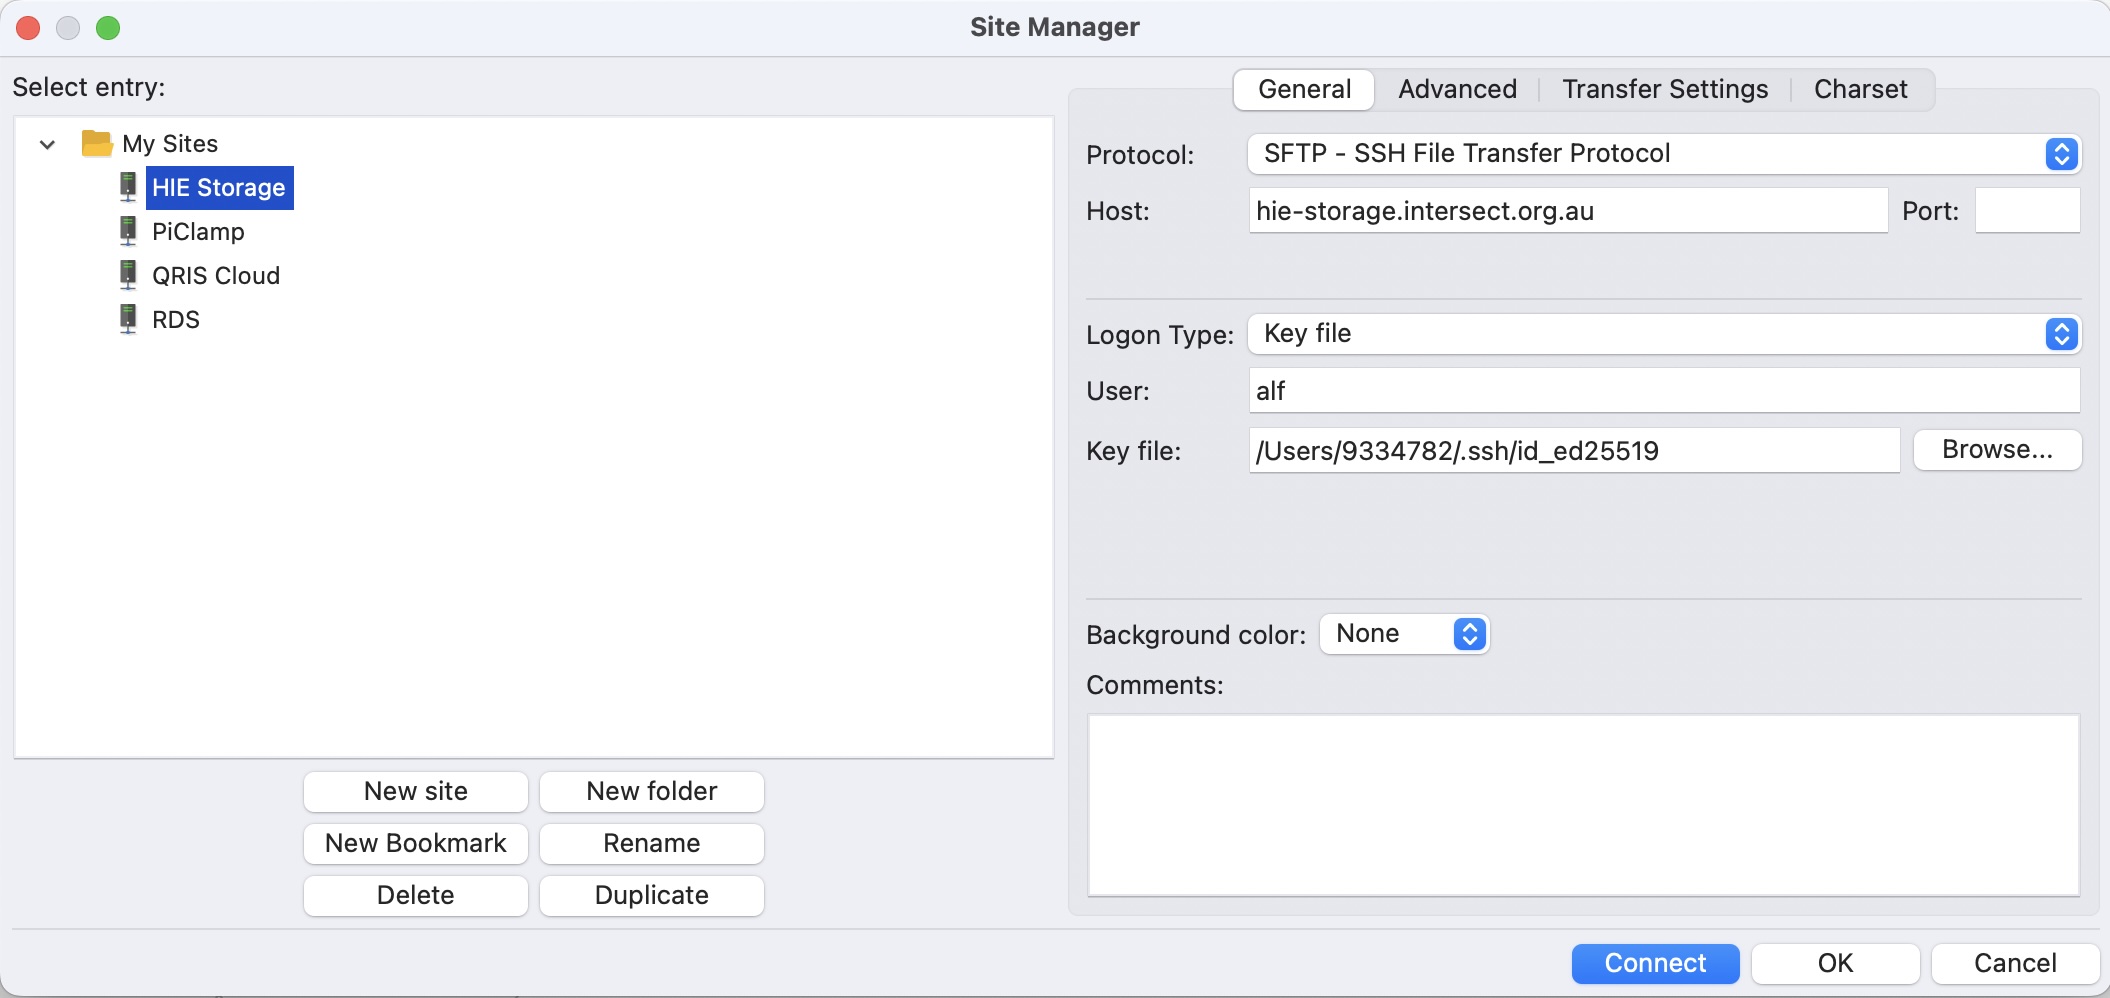
With the new ‘hie-storage’ site selected in the left panel, fill out the following details in the ‘General’ tab on the right panel
Protocol: > SFTP – SSH File Transfer Protocol
Host: > hie-storage.intersect.org.au
Logon Type: > Key File
User: > Your hie-storage user name” typically “u” followed by Western ID eg. u9054321
Key file: > Browse to the location of “id_ed25519” key file that you created earlier
Click ‘Connect’
On first connect, a dialog box will appear confirming you would like to connect. You may tick the radio box to stop this from happening in the future
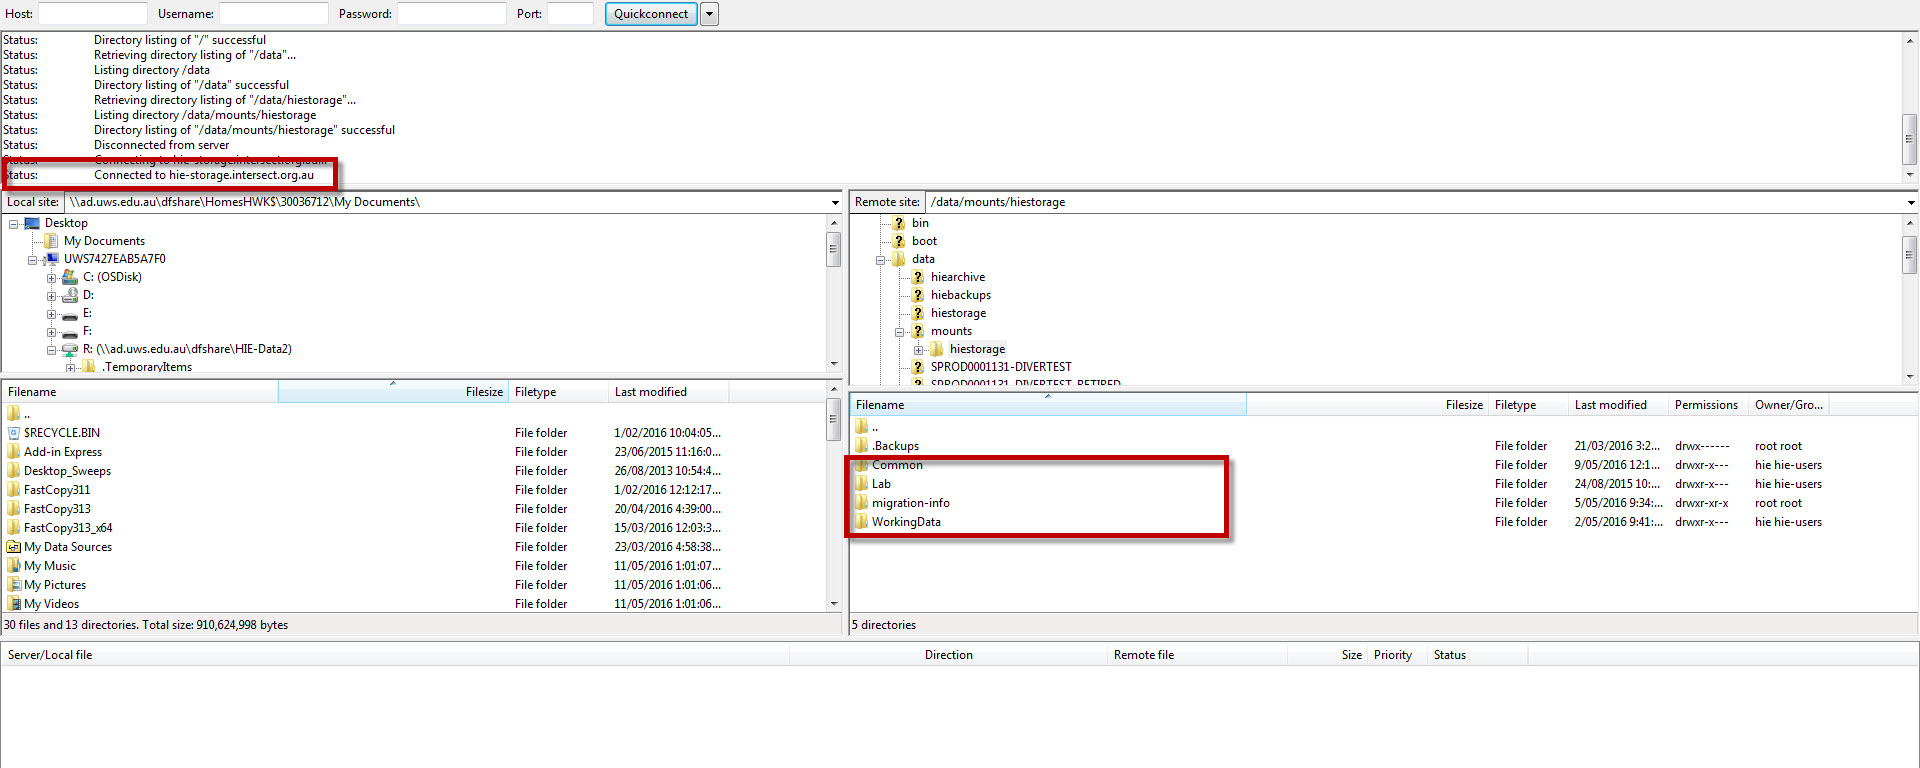
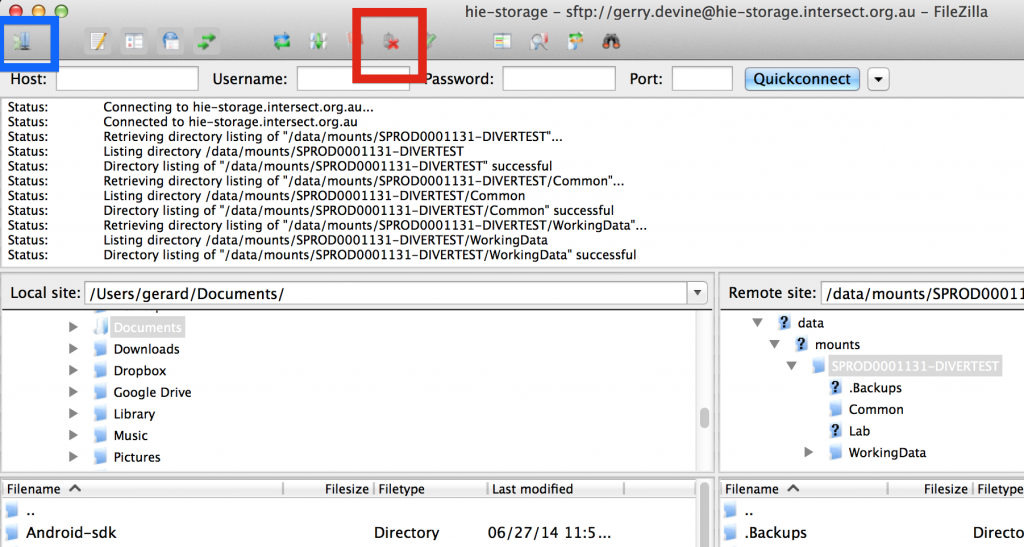
You should now see the top level folders of hie-storage, i.e. ‘Common’, ‘Lab’ and ‘WorkingData’ on the right hand panel (with the status on the top panel showing that you are now connected to hie-storage).
Navigate through hie-storage (e.g. by clicking on WorkingData on the right panel) until you find the directory into which, or from which, you would like to copy a file.
Also navigate to the folder on your local file system (in the lift hand panel) from where you would like to copy from/to.
To copy a file or folder simply drag that file or folder from left panel to right (or vice versa). You can watch the status of the transfer on the bottom panel.
When complete, close the connection to hie-storage by clicking the disconnect button on the top panel menu (red x, see image below). To reopen a connection, click the ‘open site manager’ button (see image below), select ‘hie-storage’ from the left panel and click connect.